Saturday, October 20, 2018

Chicken Noodle Soup

Chicken Noodle Soup

After such a hot and rainy summer, I have been more than ready for Fall which is my favorite season and the cooler temperatures it brings with it.  This morning was one of those cooler Fall days.  A bit drizzle-y and bit chilly but perfect for soup making.   I no longer buy the cartons of prepared soup stock and I now make my own.   I always heard that making your own stock is easy and and so much tastier, healthier and less expensive and it really is!   I get to control how much salt goes into that pot.  

Chicken Noodle Soup is one of my favorites.  Such a basic soup and a classic for good reason.  Easy and economical because I make it using what is left over from our weekly rotisserie chicken.    This is a “Use what you have” recipe.  The ingredients are simple.  Celery, carrots, onions, parsley or cilantro like I used today, garlic, kosher salt and pepper.  I saw a recipe recently that added a bay leaf.  I wanted to try that but forgot.    Some recipes I’ve seen add a bit of dill. Will also have to give that a go one of these days as well.

Chicken Noodle Soup Pot

I have a medium sized soup pot that came with a wire basket that makes soup making so much easier.  I simply put all my ingredients into the basket, lower it into the pot, and add enough water to cover all the ingredients.  This pot makes me very happy but is not a necessity.  I have been making this soup for years, long before I owned it using a Dutch oven sized pot and then later a real soup stock pot.  This pot with the basket however, is wonderful.

When making the stock, I roughly cut up all the ingredients and throw them into the pot.  This recipe is NOT precise.  Use what you have and if you like carrots, by all means, add a ton of carrots.  I like to include the celery leaves for this step.   I cut up an onion and leave the skins on because they help add color.  Same with the garlic. 

I bring it to a boil and then let it simmer for about an hour.  Makes the kitchen warm and it smells delightful. 

Back in the days before the the magical soup pot with the basket, I would use a strainer over my largest bowl to strain out the chicken bones, etc… Just be very careful everything is so hot!  You might want to do it in steps and let it cool first before straining.

Chicken Noodle Soup

1 leftover Rotisserie Chicken.  (Keep all the skin and bones.  I looked for a deep dark colored rotisserie chicken.  I think they have more flavor).

1 large onion  (Leave the skins on and cut in big chunks.)

4 cloves of garlic

4 or 5 celery stalks roughly cut.   (Lot’s of times I cut off the bottom of the whole celery and throw that in too.)

Carrots    (I add about a half of a bag of baby carrots or whatever kind of carrots you have.  Today I used carrots sticks and like the look!)

Parsley or Cilantro.  ( I take a handful and tear it off and them roughly cut it up and throw into the pot.  Save some to add at the end.)

Egg Noodles.  ( I boil them up in a separate pot.  I like No Yolks brand but use whatever kind of noodles you like best.  Resist the urge to just throwing the dried noodle into the soup pot to let them cook there.  I’ve done this but the extra starch that comes off the noodles as they cook give the soup a look and texture that I don’t care for.  I like a clearer broth if that makes sense.)

1 tsp. kosher salt.  (This is an estimate.  Go in light with the salt.  You can always add more to taste at the end.)

1/2 tsp black pepper.  (Same. Go in light and add more later if you need to.)

Then, when the stock has that deep rich golden color that I love, I can lift the basket up out of the pot and pull out some of the now cooked carrots, celery and onions, set them on my cutting board and chop them up to add back into the soup along with the chicken meat that I picked off of the leftover  rotisserie chicken.  After I've taken out everything I want to add back to my finished soup, I discard what’s left in the basket. 

  Chicken Noodle Soup Bowl

And then!!  It’s time to enjoy.  Add some of your cooked noodles to a bowl, and use a ladle to add your soup to the bowl.  This makes a lot of soup.  You can share it and it also freezes well without the noodles.  Cook up fresh noodles each time you serve it.  That’s it!  Enjoy!

Sunday, July 22, 2018

Confetti Cookies

These delightful cookies are as cheerful as they are delicious!  I took them to a Fourth of July BBQ a couple of weeks ago and got a lot of “oh! who made the cookies?”  They are like a tender and moister vanilla shortbread cookie loaded with sprinkles.  How can you not smile when you look at them?

C

   I found the recipe in this wonderful Cookbook called Homemade Decadence by Joy Wilson.  Joy writes the Joy The Baker Blog.  Love, love, love her blog and have loved it for years. 

     Confetti Cookies Homemade Decadence Cookbook

I have mentioned before that I write in my cookbooks.  I’m sure that makes some people cringe but I have been doing it for many many years.  I write down things like if people liked it, what the occasion was and I write down the date.  And you know one of my favorite things is to flip through one of my books and come across a recipe that I might have made years ago that I either made with or for my kids.  I still have the Baklava recipe my daughter and I made when she was in the 5th grade for her Greek Festival at her school.  Or Peanut Butter Cookies I baked with my son which at one point were his favorite.  God Bless peanut butter.  For a long time it was the only thing that boy would eat!

Confetti Cookie Recipe            

Anyway!  Here is the recipe with all of my notes.  I doubled the recipe and marked down how long it took to bake in my new oven.  I recently had our kitchen updated and got a new oven after the the other one more or less blew up.   And now I have a beautiful new Kitchen Aid which I love BUT it has been very hard getting used to the fact that this oven takes almost  a full 10 minutes longer to bake anything.  But slowly but surely we are becoming friends. 

Confetti Cookies and Peaches

Here is the recipe along with my usual commentary.  : )

These measurements are for a DOUBLE recipe since I just can’t see if you are going to go to the trouble to make these why you wouldn’t want to have a few extra on hand.  The doubled recipe works fine in my Kitchen Aid mixer sized bowl 

Confetti Cookies

3 Cups all-purpose flour

2 tsp. baking powder

2 tsp. cream of tartar

1 tsp. baking soda

1 tsp. salt

1 cup butter (2 sticks.)

1 1/2 cup sugar

1 vanilla bean (I used 1 tbsp. of vanilla bean paste.)

2 large egg

2 tsp. pure vanilla extract

1 cup sprinkles.   This was a whole tub.  ( I also prefer “jimmies” over nonpareils.)

Confetti Cookie Sprinkles

Directions:

In a medium bowl mix the flour, baking powder, cream of tartar, baking soda, and salt together. 

Beat the butter and sugar on medium speed until light and fluffy, about 3 or 4 minutes.  Add the vanilla bean or vanilla bean paste, the eggs, the vanilla extract, and beat till thoroughly combined.

Reduce the mixer to slow and slowly add the dry flour mixture.  Incorporate the flour into the wet ingredients then add 1/2 cup of sprinkles. 

Put the other half of the sprinkles in a shallow bowl or dish.  Scoop your cookie dough into a ball and then roll it in the sprinkles.  Place on a cookie sheet prepared with parchment paper and then place in the refrigerator for 2 hours.

Bake the chilled cookie balls for 10 minutes at 350 degrees in the center of the oven Give each cookie about 2 inches of space.  Bake until the cookies have spread and are just beginning to brown around the edges but are mostly pale and soft. 

Let cool on the cookie sheets for about 5 minutes before moving them to a wire rack to finish cooling. 

Makes about 30 small cookies or 15 large cookies.

Confetti Cookies in Jar    

I made the large size batch and they took about 22 minutes but then again I have a crazy oven.   And now looking at these pictures….I think I overbaked them!!  They really should not be quite so brown. You want a lighter and a bit more pale in color.

The cookies I baked in the first photos have that paler color you might want.  Those were the smaller sized cookies I baked for the Fourth of July BBQ.  The cookies below I baked as I was writing this blog post.  They are larger and are a bit browner.   But no worries!  Rest assured they do not taste burned and are delicious.  I am one of those people who like the way the sugar in the cookies caramelizes and usually enjoy the brown edges of a cookie the most. 

confetti Cookies with jars

But I have to say, follow your own instincts since you know your oven better than anyone else!

Enjoy!!

Sunday, July 15, 2018

Boursin Spinach and Cheddar Quiche

Zinnias in the kitchen

What a beautiful weekend it has been although a bit hotter than I would like. But what are you going to do?  It’s July!   I found these gorgeous Zinnias at the Farmers Market yesterday.  Love the flowers that are available in the summertime for cheapness here.  I only paid $5 for that bouquet.  It’s been a lazy weekend for the most part.  Spent a lot of time recycling/painting old plastic flower pots and then planting in them.  I pulled out my old stencils and made some very unattractive green plastic pots pretty and useful again.  My “Bee” pots turned out quite cute I think!

Bee Pot with Button Fern

  Boursin Spinach and Cheddar Quiche was a delicious way to start the day today.  I had a bag of spinach getting close to being past it’s prime and I always have lots of eggs.  Found the baking dish at Goodwill yesterday for $1.00 and picked it up to give to my daughter.  Gave it a trial run today and I think she will be happy to have it.  She said she didn’t have a quiche baking dish yet which is hard to believe because that girl got almost everything she could possible need or want last year as shower and wedding gifts.  Decided to blog the recipe today so after she gets her quiche dish she can make this right away.

Portland Maine Mug     Fountain

So this morning I sat on the deck just like I did yesterday morning, listened to the trickling water of the fountain which is my new favorite thing and drank my coffee out of my new favorite mug.  My son lives in Portland now and we just got back from a visit there a couple of weeks ago.  Loved every minute of the trip.    Will have to do a blog post soon and get my pictures from that trip up.  I cannot wait to go back!

Boursin Spinach Cheddar Quiche     Boursin Shallot and Chive

So back to the purpose of this post. 

I did this all without a recipe so what follows below are my estimates of what and how much I used.  No worries that you won't get the amounts right.  You cannot screw this one up.  It always turns out delicious!  This is a crust-less quiche!

Boursin Spinach Cheddar Quiche

5 or 6 eggs

1/4 cup half and half and 1/4 cup of water to thin it out.

(or milk, whatever you have on hand.)

1 box of Boursin cheese.  I used the Shallot and Chive flavored Boursin.

Handful of fresh spinach.  (In the past I have use a small box of frozen spinach.  Microwaved it about 4 minutes and then drained off all of the liquid.  Then pull apart with a fork before mixing it in.)

1 cup of shredded Cheddar cheese

salt

pepper

Preheat over to 350 degrees.  In a medium size bowl, beat the eggs with the half and half with water or just use milk.  Add the spinach.  Crumble up the hockey puck size disk of the Boursin and drop the crumbles into the mixture.  Add about 1/2 cup of the Cheddar Cheese.  I also threw in a handful of shredded mozzarella cheese.  This is a great recipe for using up what’s in your refrigerator.  Add about 1/2 tsp of salt and 1/2 tsp of pepper.  Stir.

Pour the mixture into your quiche dish.  No need to prep the dish.  It always seems to turn out non-stick. 

Sprinkle the top with some of the leftover Cheddar cheese and it’s ready to go into the oven.

Bake at 350 degrees for 30 minute.  Then check on it.  Mine needed a full 15 more minutes to finish cooking.  Will puff up and get a beautiful golden color right around the time it is done.  Can use a cake tester if you are not sure.  Serve it hot or cold.  Serves 4 to 6. 

Sunday, September 10, 2017

Mini Pineapple Pies

Pineapple Pies

I am teaching myself how to make pie!  Seriously, I have never been good at making pie. Sad really.   And I always felt like I was cheating every time I made one with the help of the Pillsbury Dough Boy.  He’s great in a pinch but for special occasions I wanted to be able to make a pie with my own pie crust.  Damn it!

Art of the Pie Book

So with the help of this amazing book Art of the Pie by Kate McDermott I am learning and having lots of success!!  A couple of weeks ago I made my first Blackberry Pie.  I focused only on the filling with that pie and it was delicious.  But yes, that pie crust was compliments of that previous mentioned Dough Boy.  The pie was pretty and it was my first lattice top.  I was hooked.

Blackberry Pie

Last week I made my first crust and used the recipe in Kate’s book.  I made the Traditional Art of the Pie All=Butter Dough on page 61 of my newest favorite cookbook.   Her instructions are not only clear but she shares the “whys” and “hows” of making crust.  Keeping things cold I had always heard was one of the tricks I had always heard about making pie dough.  And Kate explains the reasons behind all of her tips and tricks.  In the past I ignored that advice because I always thought cold dough was hard to roll and work with.  Hence my sad pitiful pie making attempts were the result!  No wonder I couldn’t make pie.  Now I can.  : )))))))  Pie dough needs to be cold.  Period.  But that’s not the only tip or trick shared in the beautiful book.  I am hanging on her every word and making pie!

Last night I decided to take the butter pie crust I had made earlier in the week out of the freezer ( YES!  look at me, freezing pie dough!) and make a recipe I had found online for a Pineapple Pie.  I’ve never tasted nor heard of a Pineapple Pie before and it caught my fancy!  I was so happy with the results.  The pie was not only delicious but beautiful too!  I made two mini pies. 

Pineapple Pie

I followed the recipe from Allrecipes.com for Pineapple Pie and you can find it here. 

Pineapple Pie

One recipe of pie crust for a double crusted pie.

3/4 Cup of sugar

3 TBSP corn starch

1 20 ounce can of crushed pineapple with juice

1 TBSP of lemon juice

2  TBSP of milk or cream.  ( I used Half and Half that I use for my morning coffee)

1 TTBSP white sugar (I used large crystal decorative sugar.)

DIRECTIONS

Preheat the oven to 425 degrees.

In a medium saucepan combine sugar, cornstarch, pineapple with juice, and lemon juice. Cook over medium heat, stirring constantly until thickened, then allow to boil 1 minute.

Cool slightly and pour mixture into pastry-lined pie pan. 

( I made mini pies so I placed my mini aluminum pie tin upside down on the crust and with a sharp knife I outlined the circle of the rim but did it about 1/2 and inch larger.  Then placed the circles of pie dough into my tins, turned the edges under around the rim and did my best at making a pretty crimp.  Lord knows I need practice at this!!) 

Cover with top crust and seal. Make a few steam vents in crust, then brush with milk and sprinkle with sugar.  (I love the look of a lattice topped pie and so that is what I did.  I have a fluted pie cutting wheel and that is what I used to cut the strips that I then weaved over the top of the pies. 

Place in preheated oven and bake for 35 minutes.  ( baked my mini pies for 20 minutes and then checked on them.  They only needed an additional 5 more minutes till they were a beautiful golden brown.  Watch your pies so they don’t over brown or burn! 

Serve chilled or at room temperature

Whipped cream is delicious on top and so is a scoop of vanilla ice cream. 

Amazing!!  Easy and tasty.

Saturday, November 19, 2016

Chinese Rice with Cauliflower

Chinese Rice with Cauliflower

This made me so happy!   I am probably one of the last people to try this.  Cauliflower as a substitute for almost anything that’s pretty much forbidden for a low-carber? I’ve seen recipes for cauliflower potatoes and now this is a substitute for rice.  It honestly has made my food processor my favorite appliance once again.  My Cuisinart and I go a long way back.  About 30 plus years.  It was a gift from my Grandmother and I considered it quite extravagant and I was the lucky recipient!! 

A food processor makes this recipe EASY.  I’ve also heard that you can buy cauliflower that has been “riced” in the frozen food section.  I also heard that Trader Joes has an excellent riced cauliflower even though that doesn’t help me any since we will never get a Trader Joes’s here!  But don’t get me started on a rant.  : )

So I saw this post on Facebook where I got to watch a demo of how to make it.  I was inspired.   Fresh lime juice and cilantro?  Got to try it!

Here is the recipe:

Chinese Rice with Cauliflower

1 head of cauliflower, riced size from the food processor

1 medium onion chopped

1 minced/pressed garlic clove

pinch of red pepper flakes

olive oil

2 eggs, scrambled

Birdseye frozen corn, carrot, green beans, and peas mixture ( I used half of a bag)

Soy sauce.  I used about 1/4 cup. 

! tsp. of ginger or Chinese 5 spice powder

1/2 fresh lime, juiced.  ( I also used a Micro Plane Grater to add some of the lime zest for extra lime flavor)

Fresh cilantro chopped

Optional:  Leftover rotisserie chicken or beef.

I used a wok pan but any fry pan will work. 

Saute the chopped onions in olive oil.  Add the red pepper flakes and then the garlic.  Be careful not to burn the garlic.

Add the riced cauliflower and the frozen chopped vegetable.  Stir well and cook till the cauliflower is tender.

Make space in the center of the pad by moving the cauliflower and vegetable mixture to the sides and then good and break up the eggs and bring the cauliflower mixture back into the center of the pan and mix. 

Shake in the Soy sauce and mix. 

Sprinkle with the ginger or Chinese Five Spice Powder.  Mix well. 

Add any leftover protein/meat that you might want. 

Finish with the lime juice and the fresh chopped cilantro. 

This is awesome!!   I ate 3 plates!  Three!  And I felt so good.  Rice can sometimes make me feel bloated and that was not a problem. 

I need to start looking for a cheesy cauliflower in place of  mashed potatoes recipe. 

Monday, July 4, 2016

The Original Amelie’s NoDa Charlotte, NC

20160703_135246

I realize this might look like a duplicate post.  A bit of deja-vu perhaps? 

20160703_113336

No, just a visit to the original Amelie’s location in NoDa in Charlotte.  It was the Fourth of July weekend.  Didn’t quite get my act together quick enough to make some kind of arrangements to get near a large body of water.  The ocean or a lake?  No, when you check into that sort of thing at the last minute, your choices of places to stay are quite limited and  very expensive.  So off to Charlotte.  Again : )

    20160703_113600       20160703_113537     20160703_130740

I have been known to say that one of the nicest things about living in Greensboro, NC is that it is less than a couple of hours to get to Charlotte and so Charlotte it was.  Charlotte is a lot of fun.  Lot’s to see, and do, places to shop, and lots of undiscovered restaurants and dog and puppy filled brewries.  I love that you can bring your dog to a public place nowdays.  But I was a bit confused seeing some people coming in with their kids.  Babies I understand, but kids?    Anyway…… I love Charlotte. 

20160703_113549

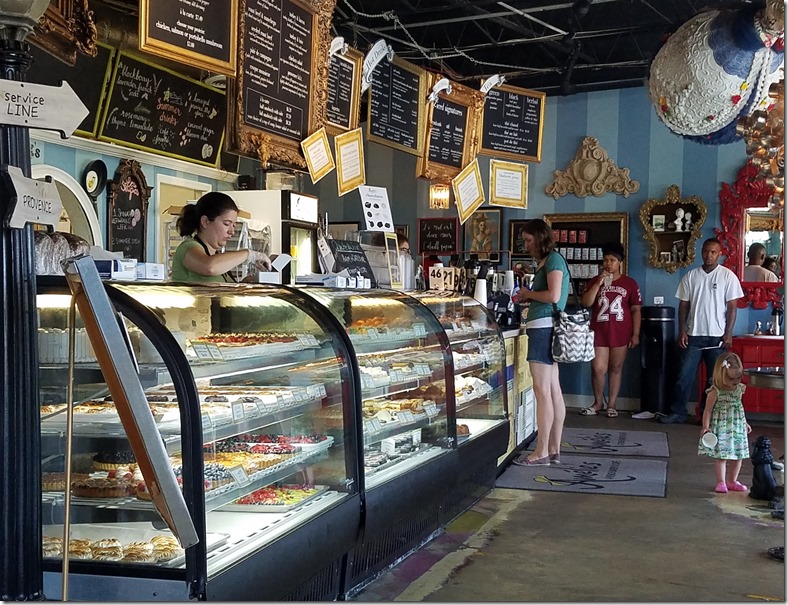
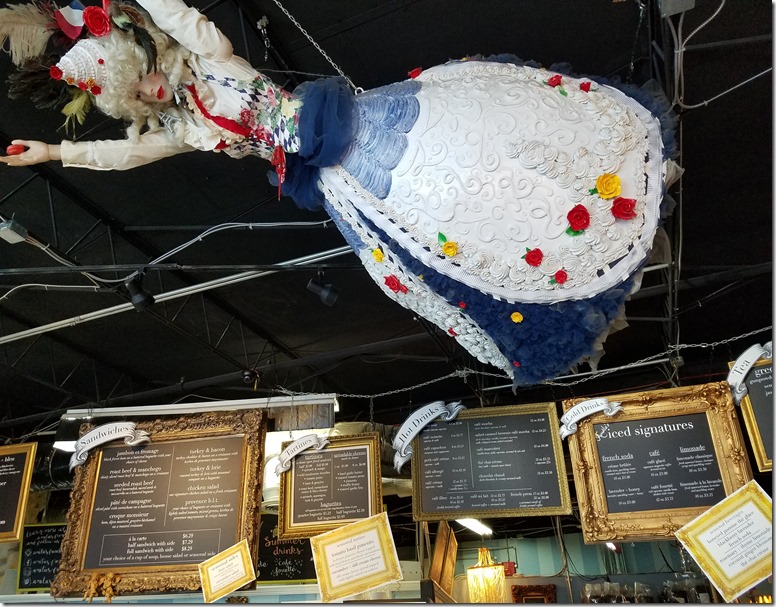
Yes that is Marie Antoinette floating in the sky above the bakery display at Amelie’s NoDa. 

20160703_113431

NoDa?  Had to google that.  Noda is Charlotte's historic arts and entertainment district and is centered two miles from Uptown at North Davidson and 36th Streets.   So there you go.              

20160703_113947    20160703_125718-1      

And because I know what I like, I ordered the same thing that I ordered at the other Amelie’s Uptown location.  The breakfast sandwich with ham, gruyere cheese, spinach and tomato.  At the last minute I added a cup of soup.  Leek, Potato, and Asparagus.  Each delicious.

         20160703_113439         

One of those macaron flavors was jalapeno. And something distracted me before I remembered to order it.  So next time I’ll be looking for the jalapeno flavored macaron. 

 20160703_112543

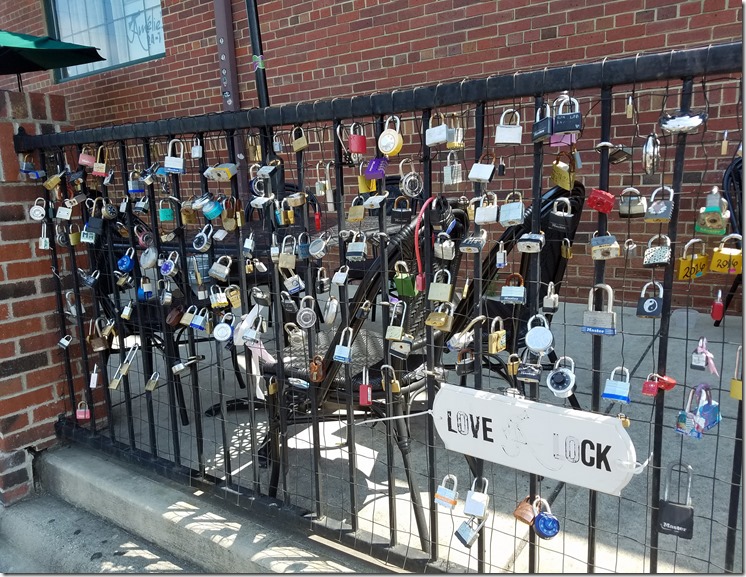
And this was one of my favorite parts of my visit.  This is what will greet you when you walk up to the NoDa Amelies!  A tiny slice of Paris.

Saturday, June 18, 2016

Amelie’s Uptown Charlotte

Amelie's 

So one of the fun things about living in Greensboro, NC is being able to escape to Charlotte in under two hours.  Laughing.  : )  I Spent the weekend in the Queen City recently and finally got to checkout a place that’s been on my list.  It’s a French bakery and cafe located in Uptown Charlotte, called Amelie’s and it offers up some delicous food and drink. 

20160508_123254

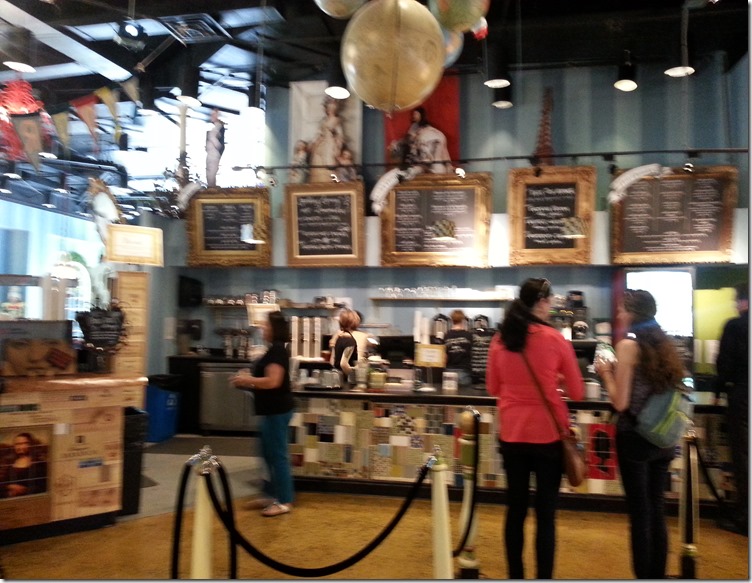
And ou la la!!  Such atmosphere!  The menus are suspended up high in those guilded frames.

Amelie's Menu Frame and Light Fixtures

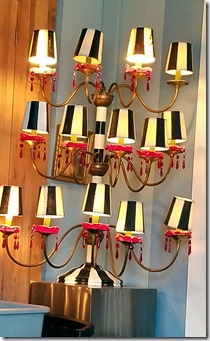
And would you look at those light fixtures.  Loved all the details in this charming place.

Croissant Breakfast Sandwich from Amelies

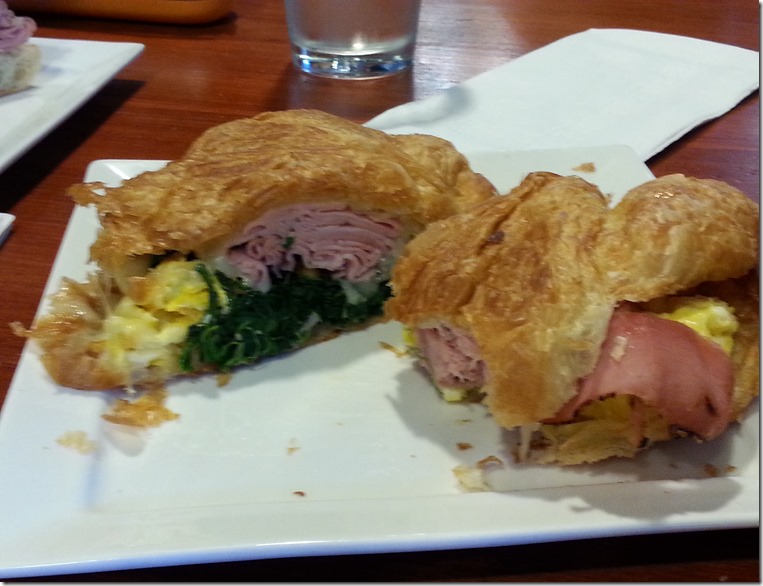
And the place smells amazing.  Outstanding coffee and this  incredibly delicous breakfast sandwich.  Ham and Gruyere cheese with egg, and fresh spinach, on a warm freshly baked croissant.  omg!

Amelie's Pastry Bakery Kitchen     Amelie's Pastry Chefs

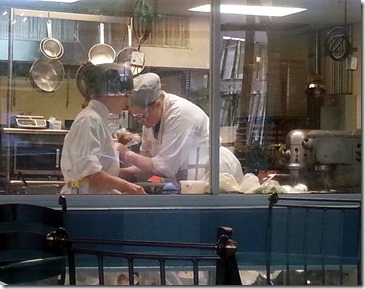
While enjoying our croissants and cafe we were seated across from this giant window allowing us to watch the pastry chef’s in action.  The window had a trompe de l'oeil red curtain painted on it to framing the window like a theater curtain.  We sat back and enjoyed the show.

          Amelies     Amelies Sign     Amelies Entrance

A charming entrance to welcome you in and the place is gigantic!  Amelie’s has three locations in the Charlotte area, a bakery in nearby Rock Hill, SC and a location in Atlanta, GA. 

Amelie's Decision Decisions

And then it was dessert decision time…….

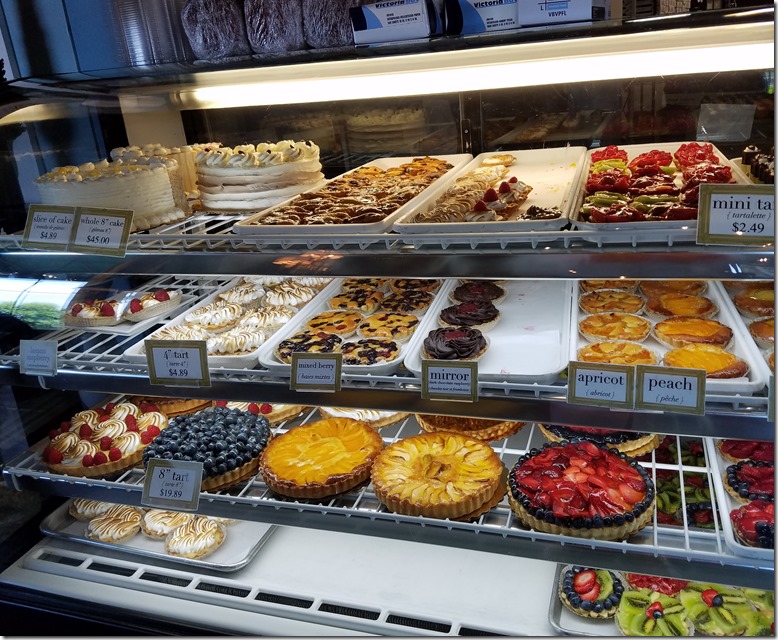
Macarons in every flavor and color possible or a delicate French pastry like a Napoleon prehaps???

Amelie Bakery Macaronse

Eye candy.  Let’s just say a very large bakery box was on the seat next to me for the ride home.  : )